

Stottie Cakes
Hiya! I know I was gone for a long while. And to answer your question, yes, of course I missed you. In October I bought a house with my husband and it was quite the labor of love to get it ready for the holidays!
To welcome you all back to the blog I wanted to make something akin to housewarming: bread. I’ve been making a lot of soup lately so this week I made stottie cakes to go with the scotch broth I’ll be discussing next week. Stottie cakes are round, white loafs that seem, to me, like a cross between a bagel and pita bread. They’re quite versatile as they can be eaten alongside soup, buttered, or used as sandwich bread. Read on to learn the history of these dimpled cakes (ooh-la-la!) and watch me melt the icicles that have formed around my fingers over the last 4 months.

Blame my absence on this golden brick hussy.
Stottie Cakes: A Brief UK History
The stottie cake was born outside of Newcastle in the early-mid 20th century. The first published reference to it was in 1949, but bakeries in the area had them on their menu for at least 10 years prior to this published work. Stottie cakes were primarily eaten by the working class and they’re notorious for having no recipe. Traditionally bakers took scraps of dough, pricked them all over with a fork, and baked them on the bottom of an oven.
I’m sure you find the name as charming as I do. It’s derived from the Geordie and Scottish Gaelic word “stot”, which means “to bounce”. Legend has it that the integrity of these buns was determined by throwing them at the floor and seeing if they bounced. Anything that didn’t bounce was tossed out. It’s hard to find a stottie cake outside of the Newcastle area, but if you’re there you’d be impressed at how fondly they’re spoken of. Like all tried and true dishes, each generation remembers them a little differently, but they all agree on who makes the best available today - Greggs on Highstreet.
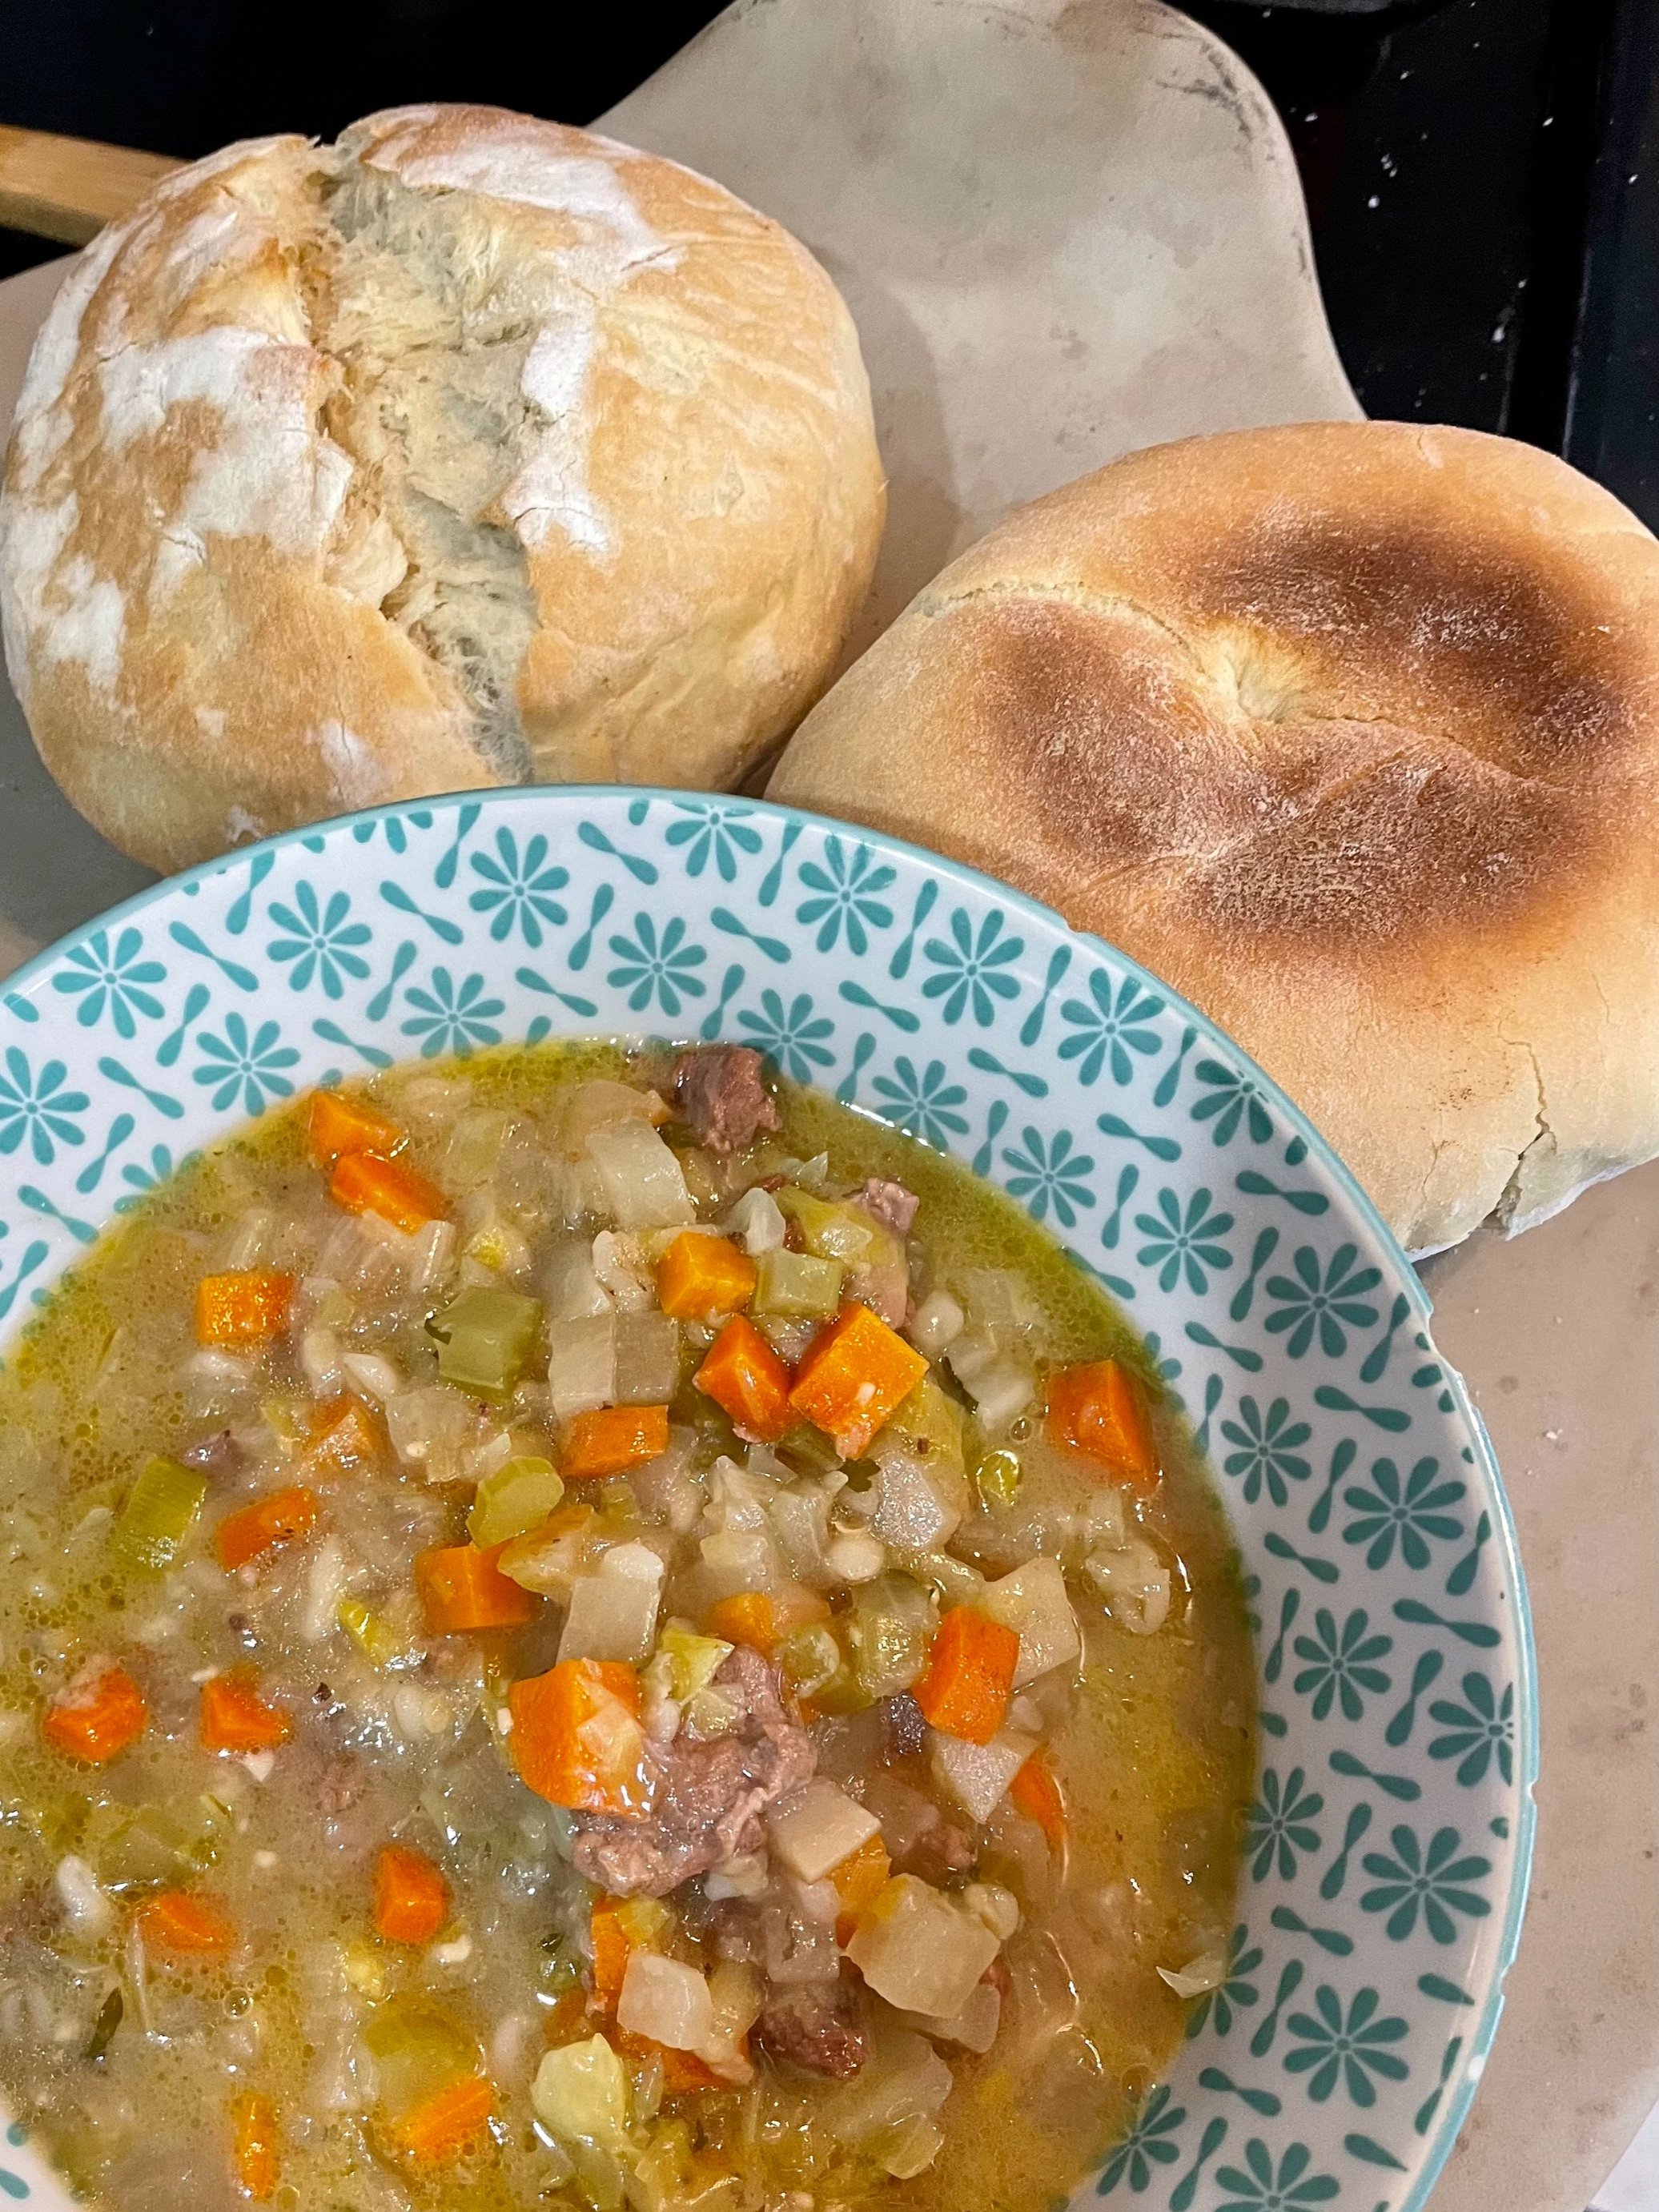
Stottie Cakes
Eat While: Painting your ceiling
Pairings: An ice-cold Negroni or a scalding bowl of soup
Dedicated Time: 2 hours
Components:
4 3/4 tsp yeast
1 1/2 c lukewarm water
4 c all-purpose flour, plus extra for dusting
1 tsp sugar (can use granulated or demerara)
4 Tbsp shortening
1 3/4 tsp fine sea salt
Combine the yeast and water, stir briefly and gently to activate it. It will start to foam in clusters, this indicates it’s ready for use.
Mix flour and sugar in a stand mixer fitted with a dough hook. Cut shortening into chunks and put on top of the flour mixture. Pour in half of the yeast mixture and start kneading. Once mixed and the water and shortening are absorbed, add the rest of the yeast mix. Knead for another 5 minutes and let stand for another 5 min. The dough will look quite wet. Add the salt and knead for 10 more minutes until the dough is neither too wet or too dry and looks elastic (scraping dough off of the dough hook and sides of bowl along the way).
Cover the dough and let sit until doubled in quantity, ~ 1 hour. Line a cutting board, or other tray, with parchment paper and dust with flour.
Knead the dough again and divide into 4. Take a piece of dough and flatten on a lightly floured counter. Pull all 4 corners up into the center, like a dumpling, and gently squeeze together so that all seams meld together. Turn the dough over so that the squeezed ends are on the bottom. Place the buns on the flour board or tray, dust with flour and press down into a 1/2 inch-thick disk.

Cover the buns with a light towel and let rest for 10 min. Preheat oven to 500°F. Put a pizza stone or greased cookie sheet into the oven while heating up. Push your finger in the center of each bun to create a deep dimple. Transfer the buns onto the hot baking stone or sheet. Bake for 3 min, carefully turn over and bake until the middle of the buns are golden brown, ~12 min.
* 4 servings
** Can make up to 3 days ahead and pop in the oven briefly to reheat.
